
Set up Tap to Pay on iPhone with the GoTab POS app
Turn a qualifying iPhone into a handheld GoTab POS that takes contactless cards, Apple Pay, and other digital wallets with no card reader. Covers installing the app, activating the iPhone as a payment terminal, enabling Tap to Pay, and taking pre-authorizations and payments.
With the GoTab POS app for iOS, a qualifying iPhone can be a complete handheld POS. Tap to Pay on iPhone lets your staff take contactless credit and debit cards, Apple Pay, and other digital wallets on the phone itself. You don’t need a separate card reader.
It’s built for service away from a fixed station: patios, rooftops, and large floors, private events and banquets, pop-ups and off-site catering, line-busting at concessions, and food trucks.
What you need
Section titled “What you need”- iPhone XS or later. We recommend running the latest version of iOS. If the iPhone’s iOS is too old for Tap to Pay, the POS tells you so and asks you to update it in Settings › General › Software Update.
- The GoTab POS app from the Apple App Store.
- Adyen payment processing with Tap to Pay enabled for your location. If Tap to Pay isn’t turned on for your payment account, the POS shows “Tap to Pay isn’t enabled for this location’s payment account.” Contact GoTab Support to have it enabled.
- Access to the GoTab Manager Dashboard to activate the iPhone, and a POS PIN for each staff member who will use it.
- A US location. Like the Android Phone Only POS, Tap to Pay is available in the United States only.
Step 1: Install the GoTab POS app
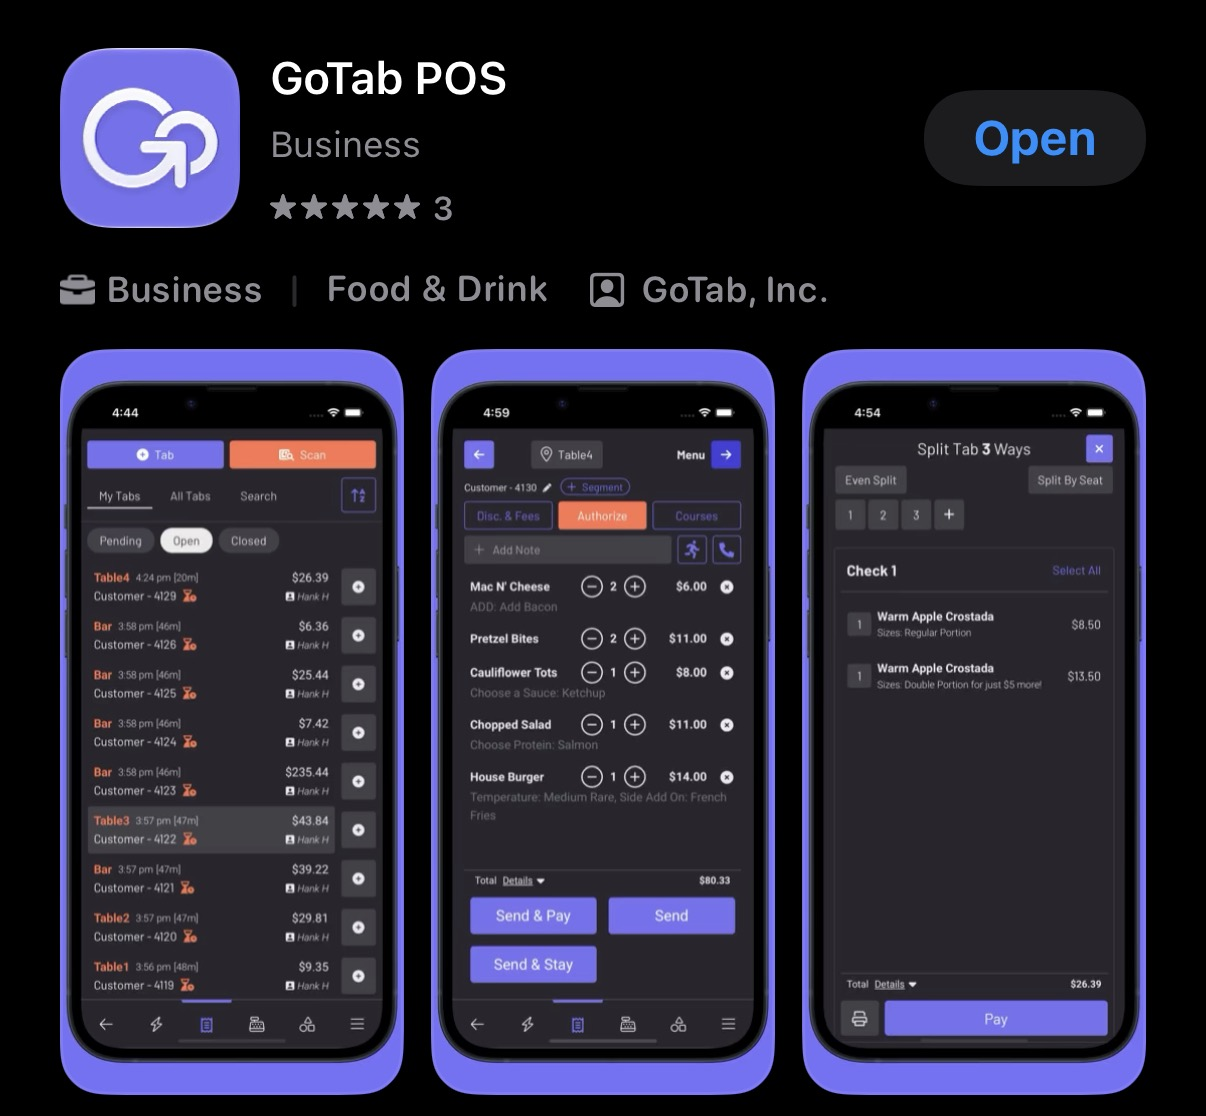
Section titled “Step 1: Install the GoTab POS app”- On the iPhone, open the App Store and search for GoTab.
- Find GoTab POS by GoTab, Inc. It has a purple icon.
- Tap Get to download and install it. If you installed it before and removed it, you’ll see a cloud icon instead. Tap the cloud to put it back on the phone.
Step 2: Open the app and allow permissions
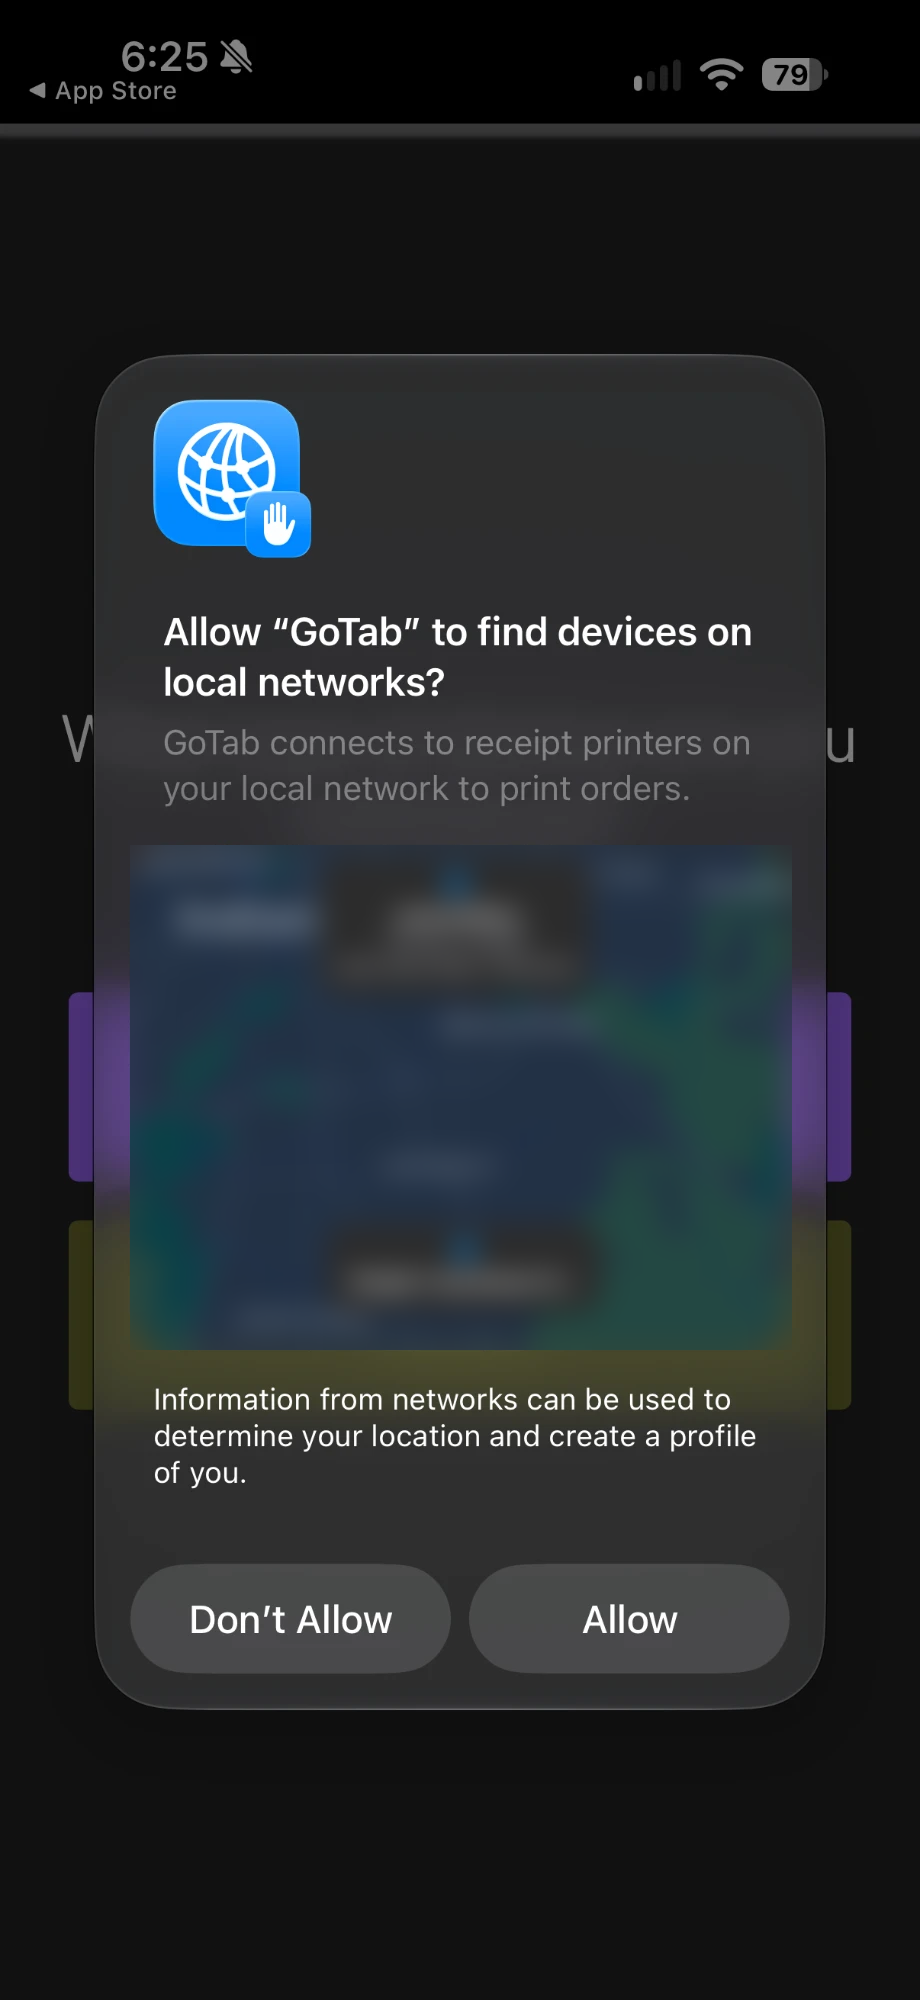
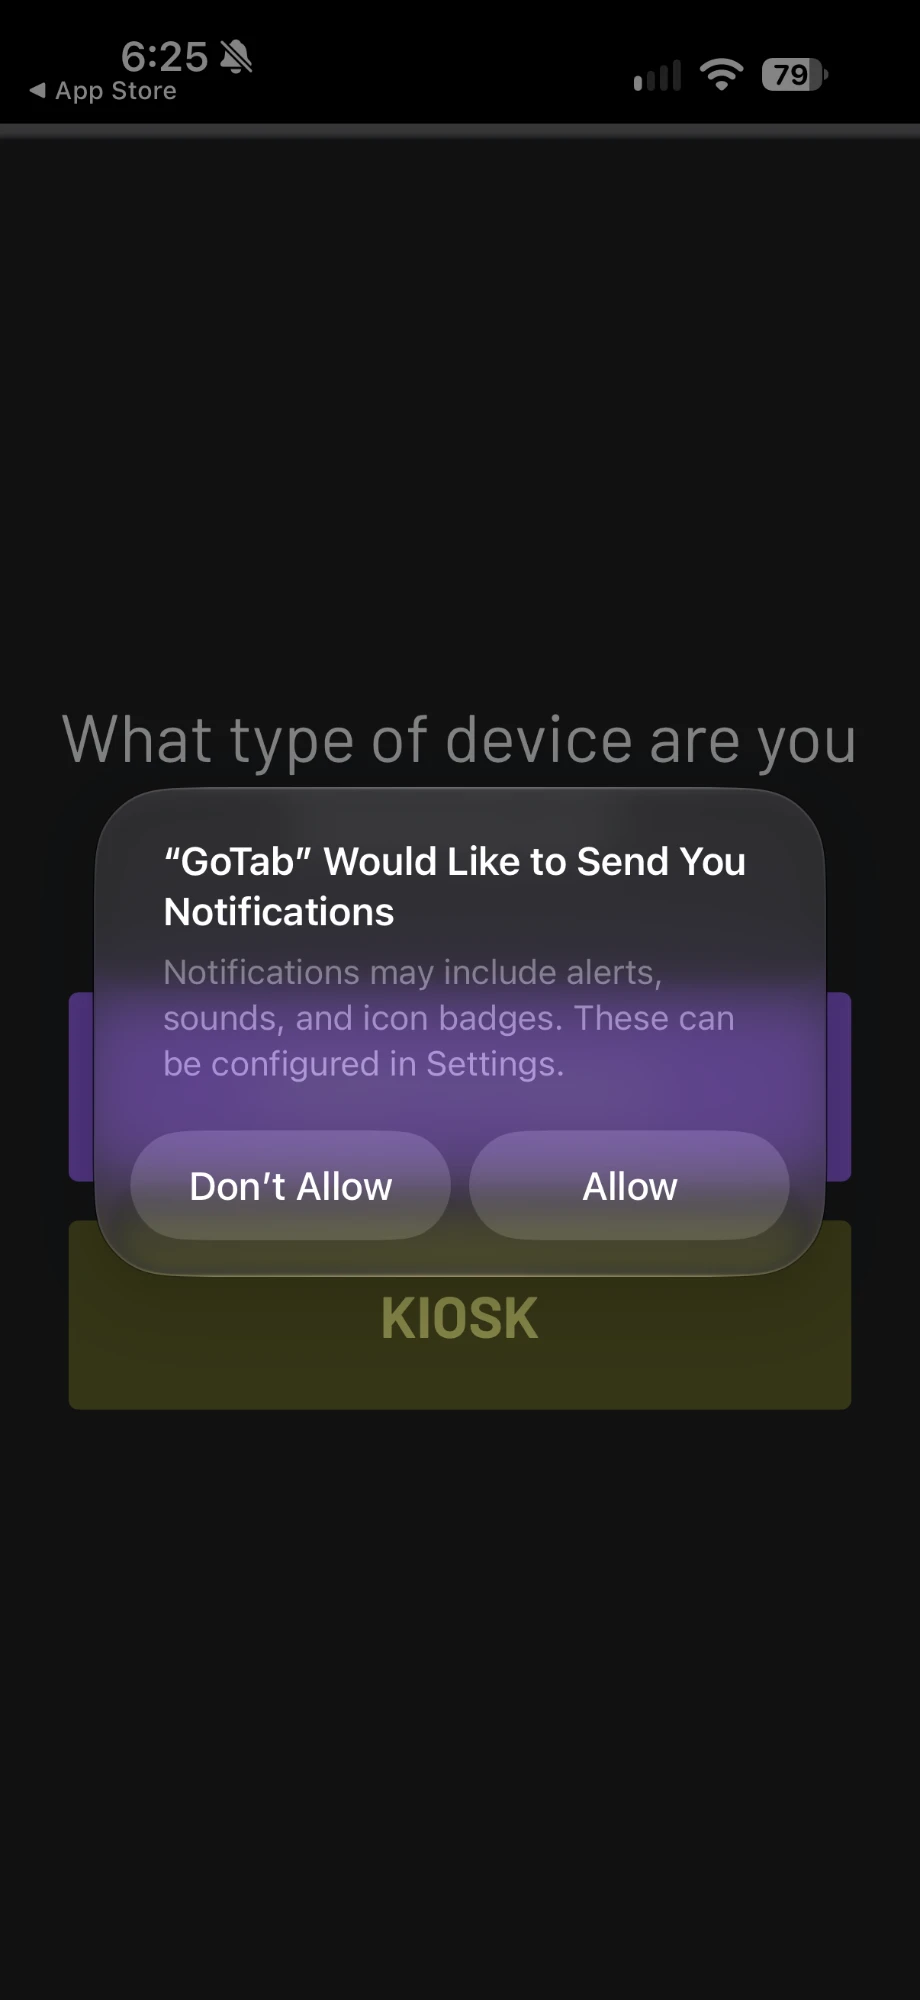
Section titled “Step 2: Open the app and allow permissions”When you open the app for the first time, iOS asks for two permissions:
- Find devices on local networks: tap Allow. GoTab uses this to find receipt printers on your network. If you tap Don’t Allow, the iPhone won’t be able to print.
- Notifications: tap Allow if you want POS notifications (such as order-ready alerts) on this iPhone. You can change this later in the iPhone’s Settings.
Step 3: Set the iPhone up as a POS payment terminal
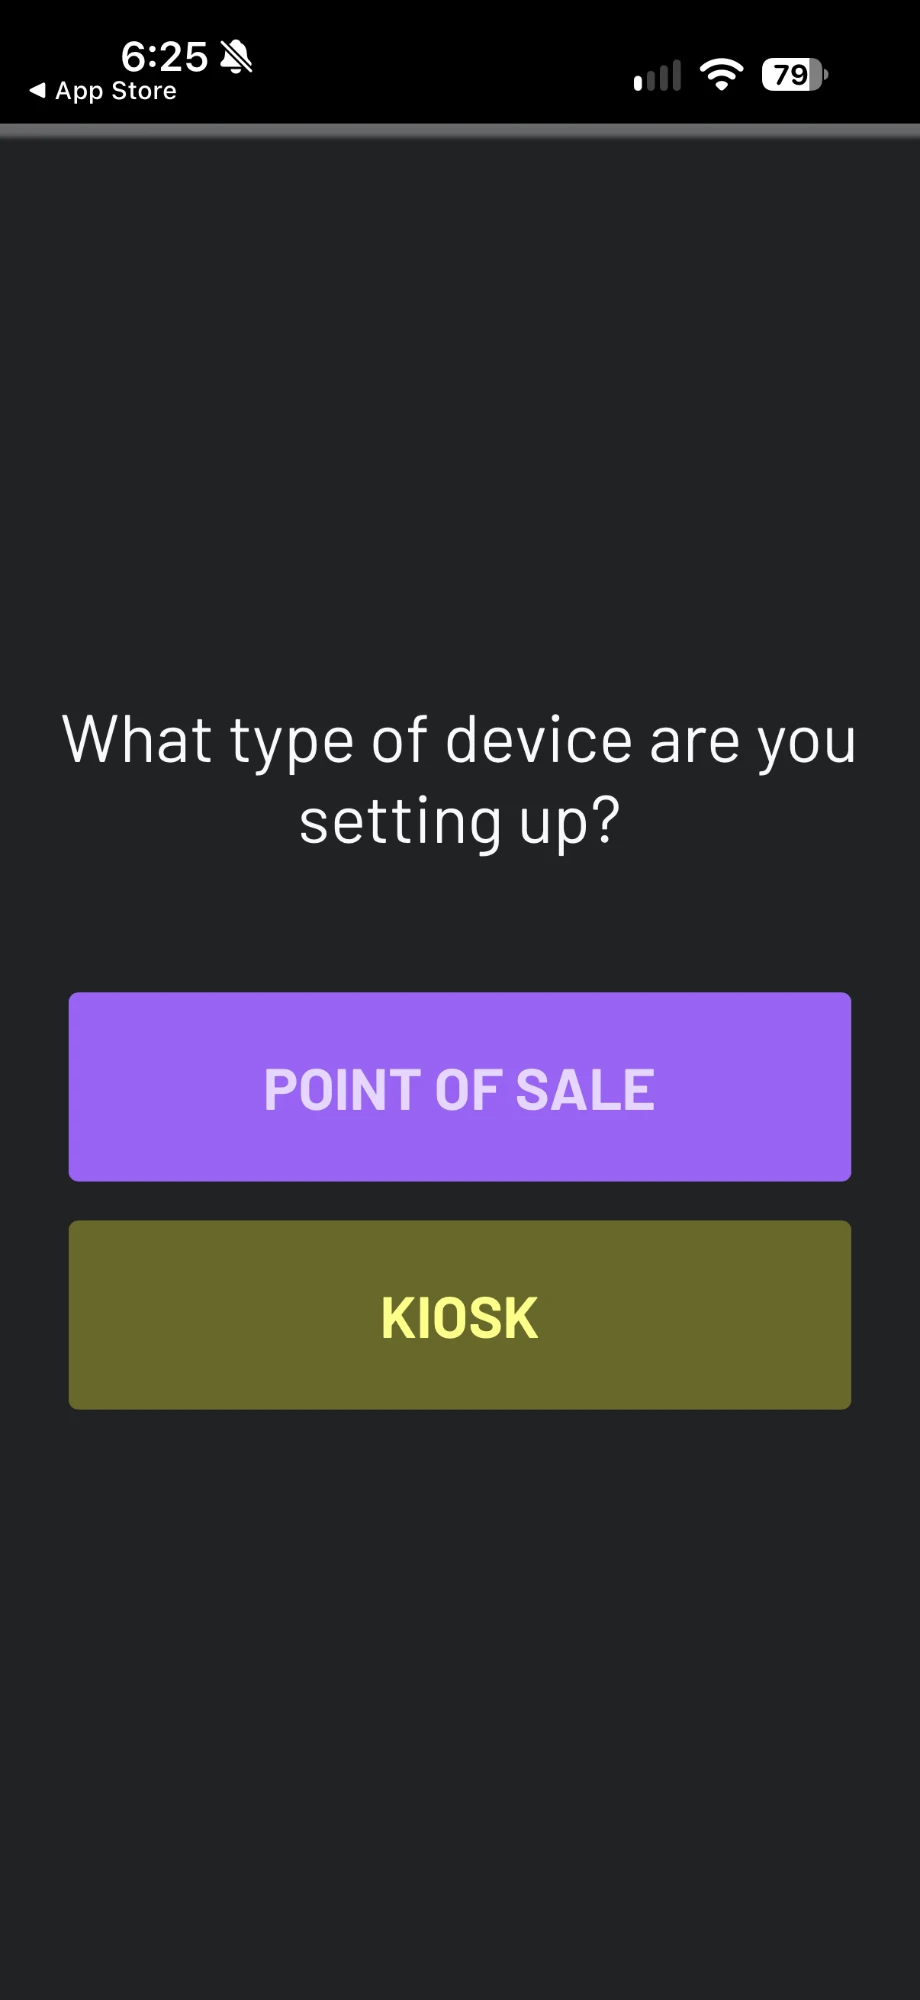
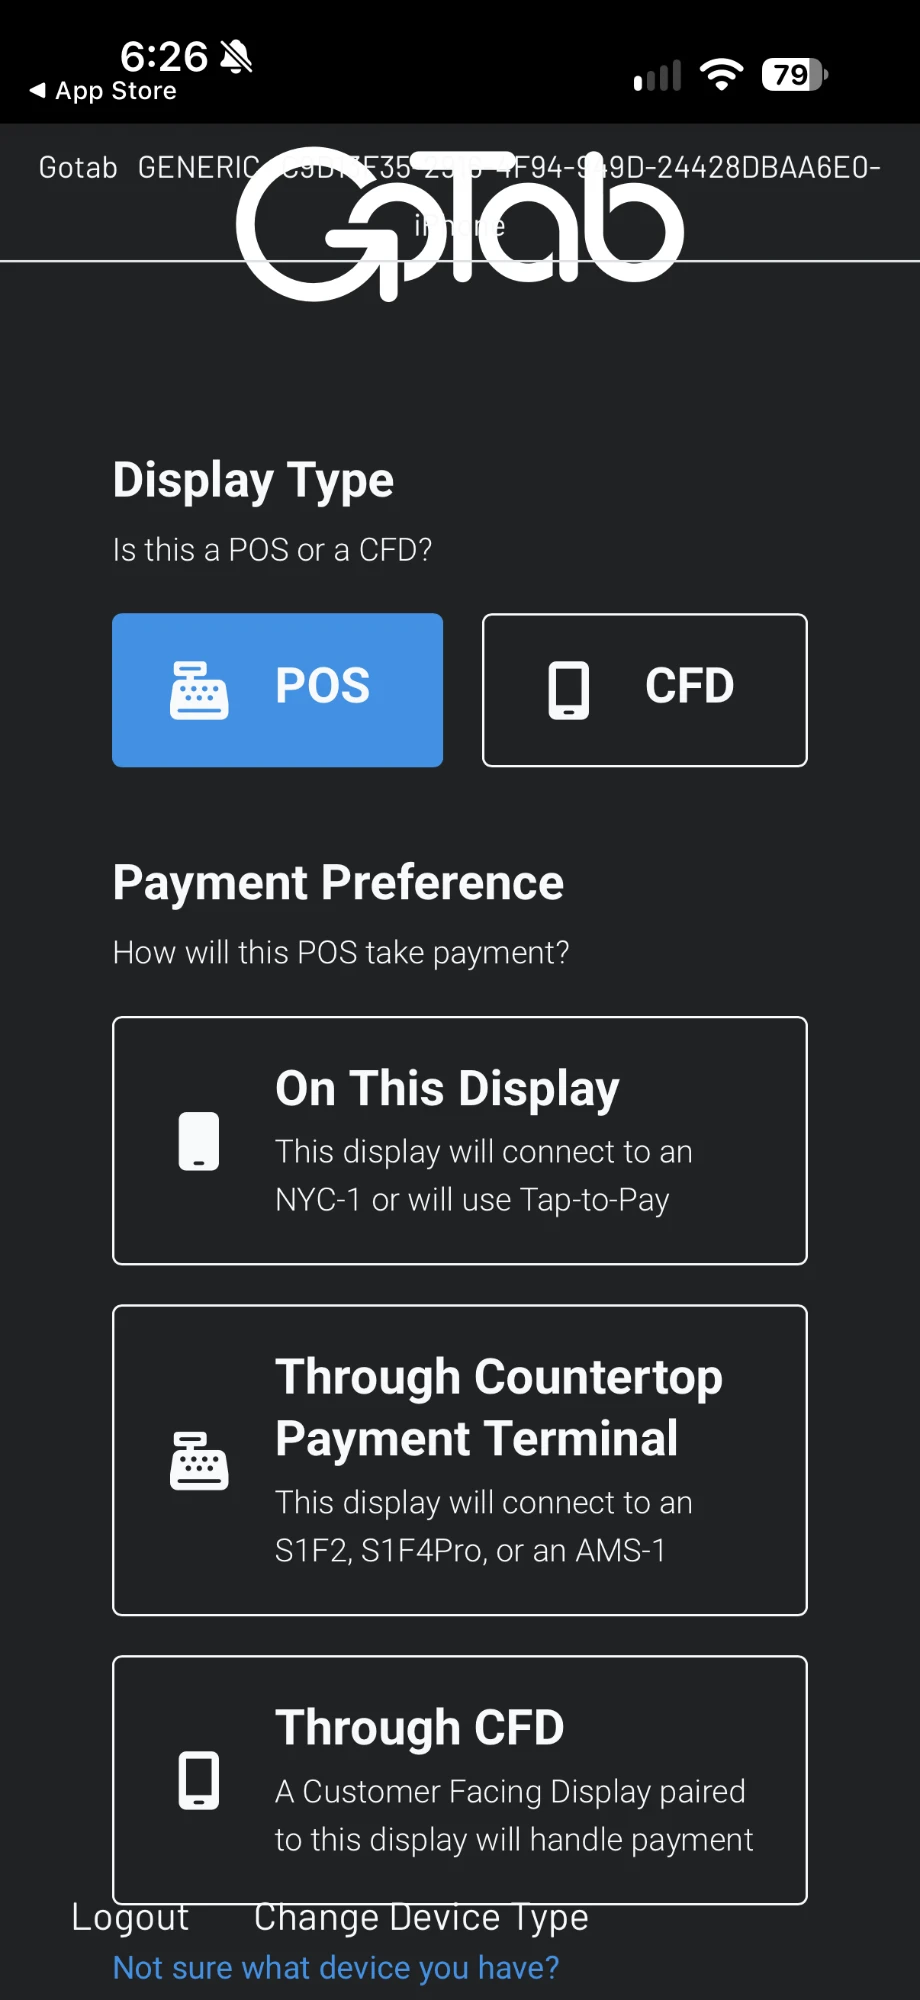
Section titled “Step 3: Set the iPhone up as a POS payment terminal”- On What type of device are you setting up?, tap POINT OF SALE.
- Under Display Type, select POS. You can switch the device to a CFD later if you need to.
- Under Payment Preference, select On This Display. This tells the app that the iPhone takes payments itself, with Tap to Pay or a paired NYC1 reader, instead of sending payments to a countertop terminal or a CFD.
Step 4: Activate the iPhone
Section titled “Step 4: Activate the iPhone”The iPhone now shows a QR code and a four-letter activation code.
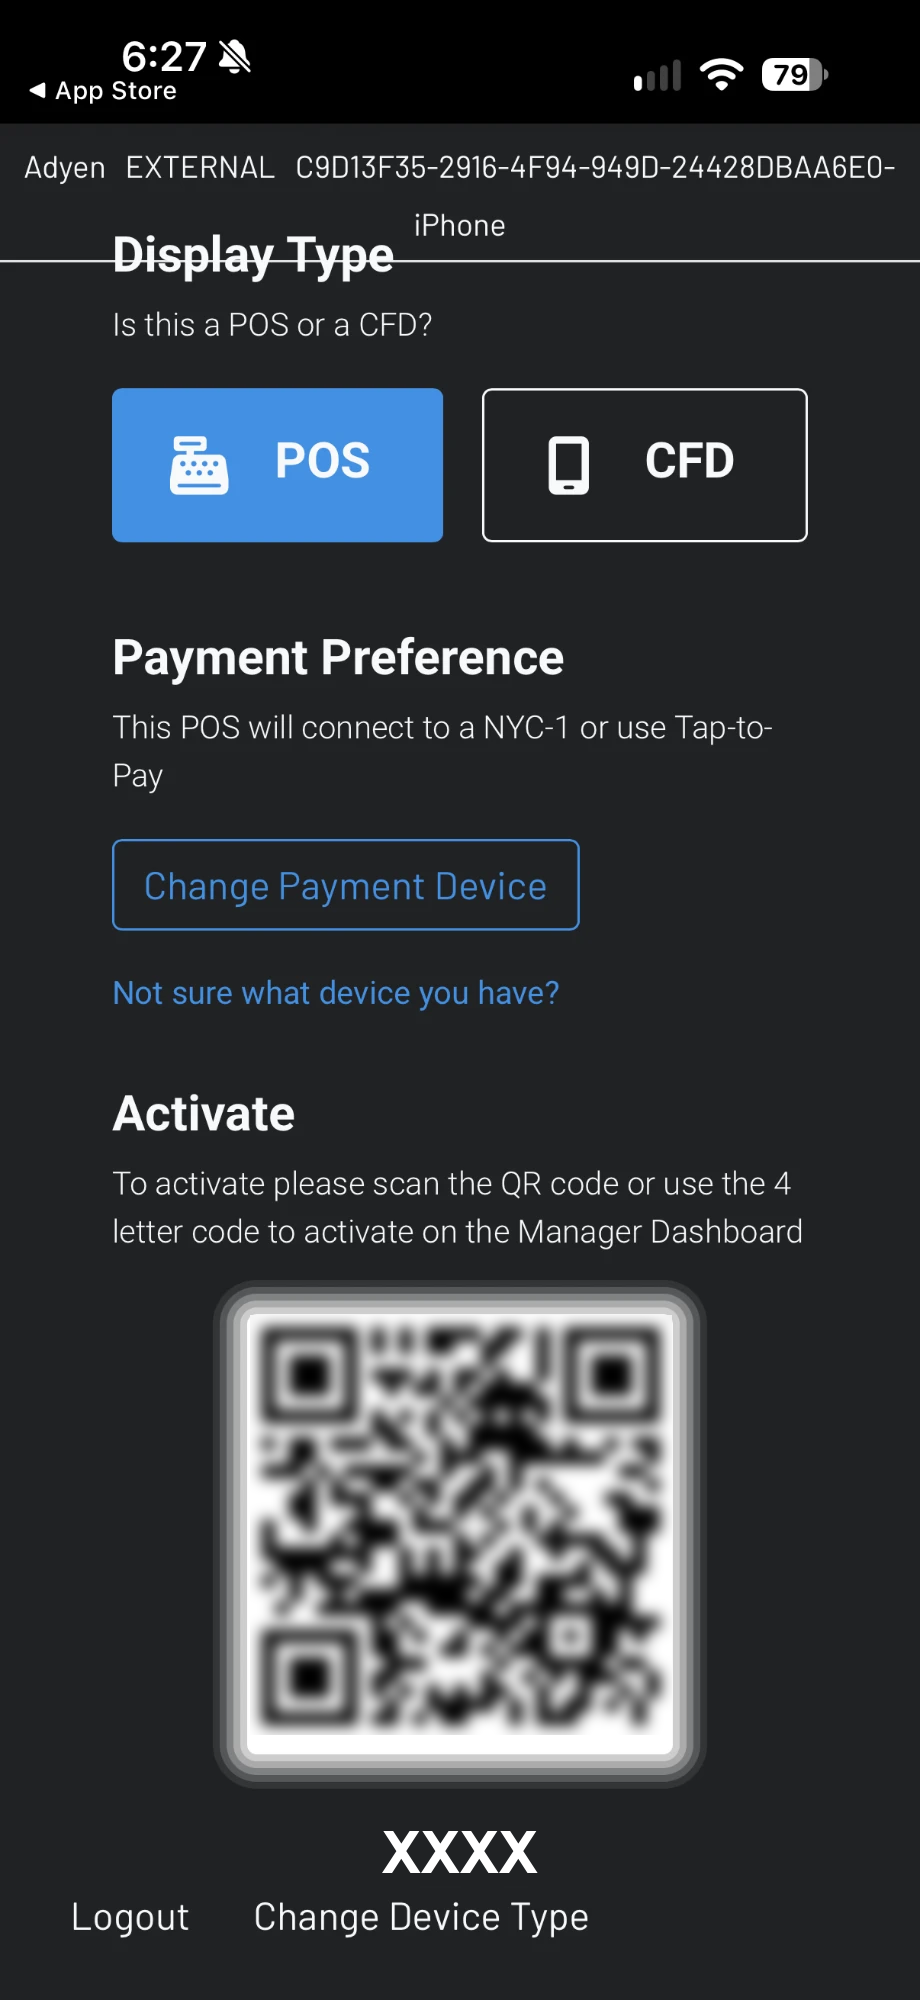
Activate it one of two ways:
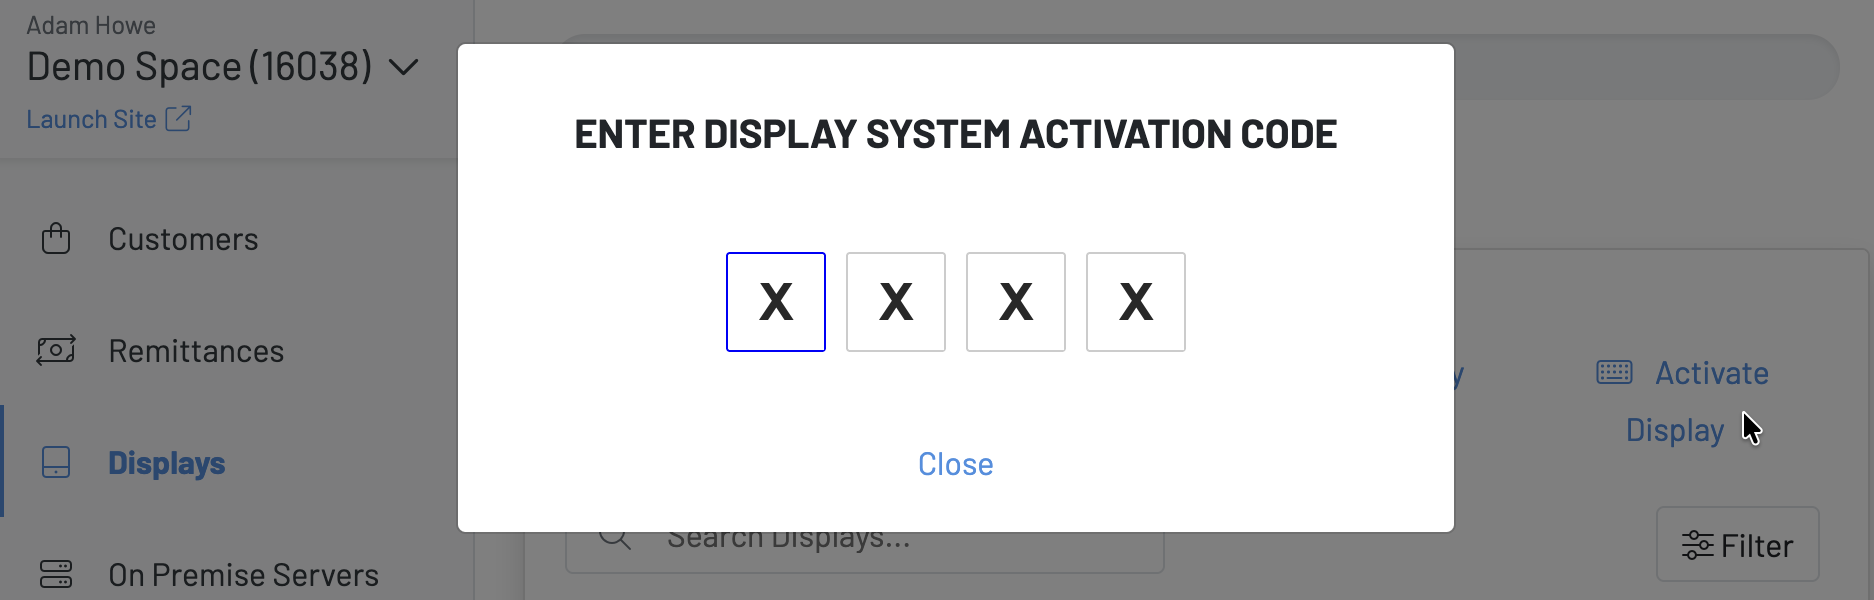
- From the Manager Dashboard (most common): Go to the Displays page, click Activate Display, and enter the four-letter code from the iPhone.
- By QR code: Scan the QR code with another device that’s signed in to the GoTab Manager Dashboard.
Either way, the iPhone shows an Activation Request naming the person and location requesting it. Tap Confirm on the iPhone to finish.
Refresh the Displays page to see the iPhone:
- A new iPhone appears at the top of the list as a payment terminal. You can rename it there.
- An iPhone you’re reactivating keeps the name and settings it had before.
Step 5: Sign in and enable Tap to Pay
Section titled “Step 5: Sign in and enable Tap to Pay”- Sign in to the POS with a staff PIN.
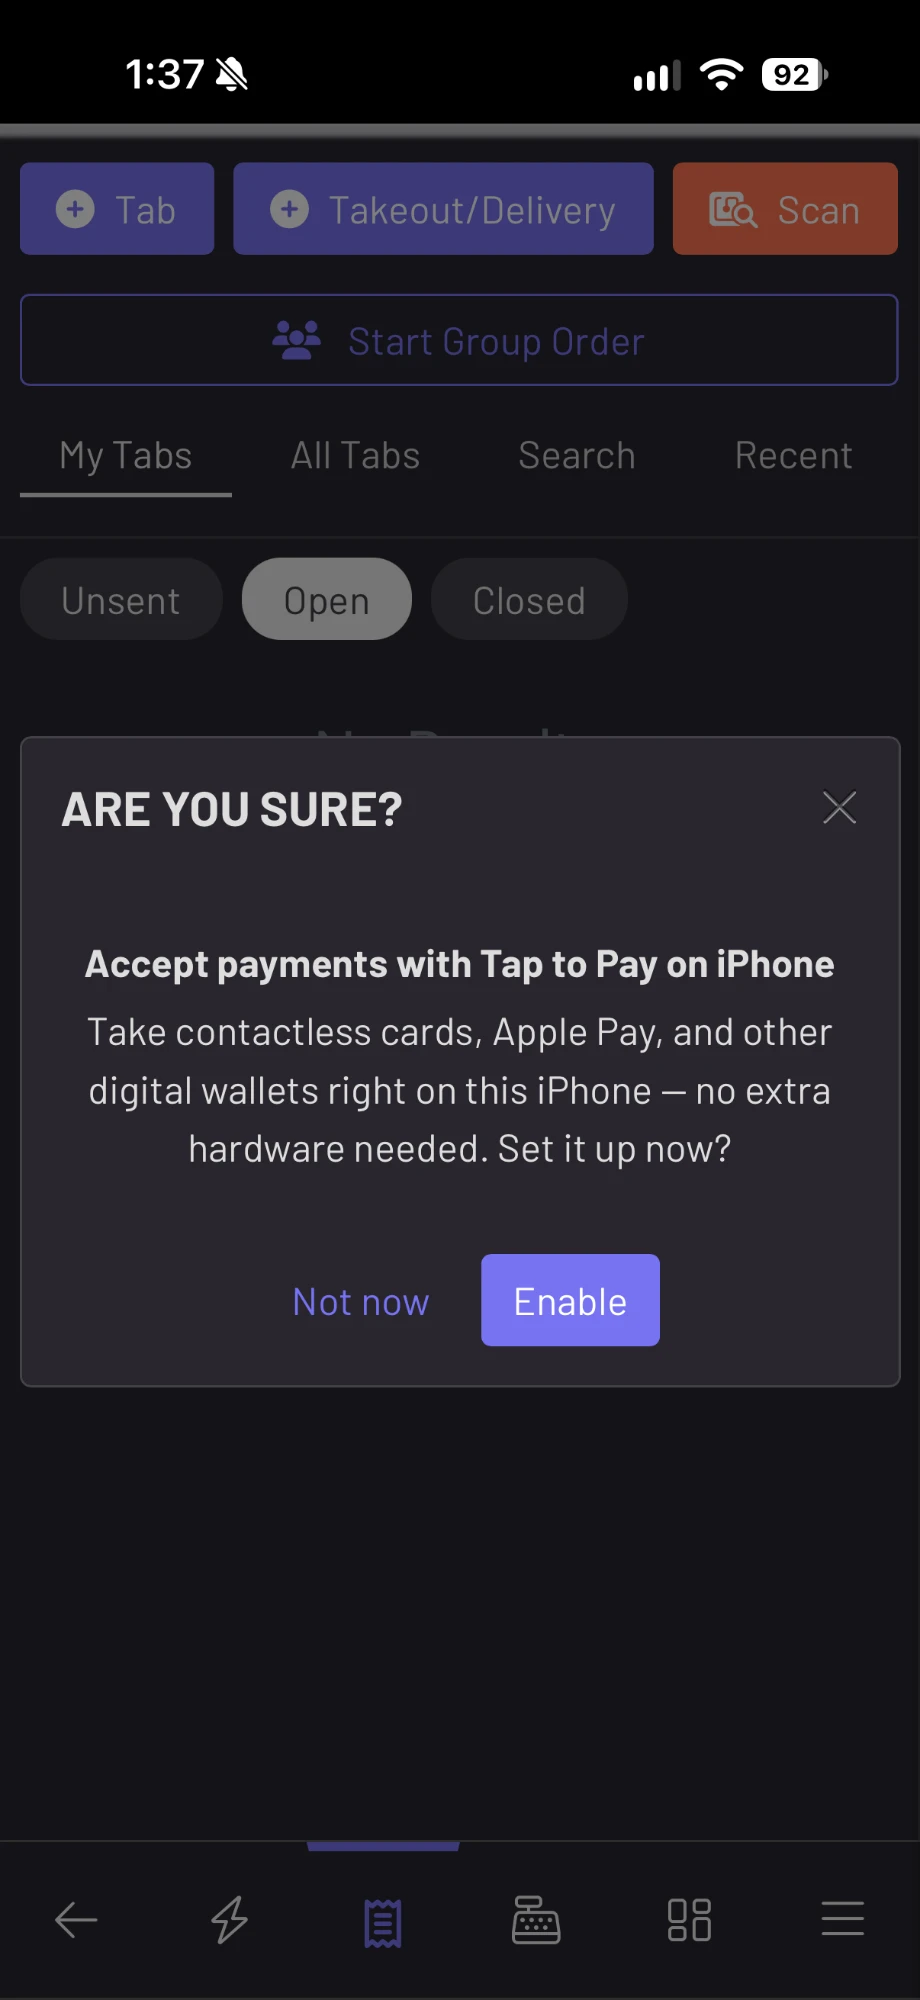
- The first time someone signs in on a new iPhone terminal, the POS asks to set up Tap to Pay: Accept payments with Tap to Pay on iPhone. Tap Enable.
- Review and accept Apple’s Tap to Pay on iPhone Terms & Conditions. This links your business’s payment account to Tap to Pay on this iPhone.
- Apple’s short tutorial plays next. It shows staff and guests how to tap a card or phone.
- The POS shows Setting up Tap to Pay on iPhone while the iPhone gets ready, usually within a minute. On iOS 18.4 and later you’ll see a percentage. Tap Continue in background to keep using the POS while it finishes.
- When you see Tap to Pay is ready, tap Done.
If you tapped “Not now”: the setup prompt appears only once per iPhone. To enable Tap to Pay later, or to replay the tutorial for a new staff member, open the More menu and tap Tap to Pay on iPhone. Any staff member can enable it.
Step 6: Make Tap to Pay the default for pre-authorizations
Section titled “Step 6: Make Tap to Pay the default for pre-authorizations”- On the iPhone POS, go to More › Settings › Payment › Payment Terminals & CFDs.
- Under Payment Terminal, confirm the iPhone is selected as this display’s terminal.
- Under Default Payment Device For Preauth, choose one of the following:
- Tap to Pay: the guest taps a card on this iPhone. This is the best choice for most iPhone POS setups.
- Card Reader: uses a paired NYC1 reader. Choose this if guests will mostly dip or swipe.
- No Default: staff choose Tap to Pay or the card reader each time they authorize.
- Tap Save.
Setting Tap to Pay as the default also makes it the payment method for Guest Pay on this iPhone.
Taking payments with Tap to Pay
Section titled “Taking payments with Tap to Pay”Pre-authorize a card to start a tab
Section titled “Pre-authorize a card to start a tab”- Open the tab and tap the orange Authorize button.
- The Tap to Pay screen opens with a picture showing where to tap. The guest holds their card or phone near the top of the iPhone’s front screen.
- The card is saved on the tab. Each time you Send & Pay, it appears as a payment option on the Pay Tab screen, so you can close the tab with it. You can also tap a different card from the same screen.
Send & Auth: send an order and authorize in one step
Section titled “Send & Auth: send an order and authorize in one step”With the Send & Auth button, staff can send an order and pre-authorize the card for the tab amount in one step. The tab stays open.
- In the Manager Dashboard, go to the Displays page, open the iPhone’s display settings, and turn on Show Send & Auth Button.
- On the iPhone, sign out of the POS and sign back in to pick up the change.
After you build an order, the POS shows Send & Pay, Send, Send & Stay, and Send & Auth:
| Button | What it does |
|---|---|
| Send & Auth | Sends the order and pre-authorizes the tapped card for the tab amount. The tab stays open. |
| Authorize (top of the tab) | Pre-authorizes the card for your default pre-auth amount, usually $1. |
| Send / Send & Stay | Sends the order without touching payment. |
| Send & Pay | Sends the order to the kitchen or fulfillment station, then opens the Pay Tab screen. |
Pay a tab
Section titled “Pay a tab”- Tap Send & Pay, or open the tab and tap Pay.
- Choose the amount, then tap Tap to Pay. It’s always the first payment option.
- The guest taps their card or phone near the top of the iPhone’s front screen. The POS confirms when the card is read.
Tap to Pay can’t capture the cardholder’s name the way a chip insert can. To keep tabs easy to find, turn on Prompt Name on Preauth.
Troubleshooting
Section titled “Troubleshooting”| What you see | What to do |
|---|---|
| No Tap to Pay option on the Pay Tab screen | Make sure the iPhone was activated with On This Display (Step 3). If it was set up through a countertop terminal or CFD, log out, tap Change Device Type, and set it up again. |
| ”Tap to Pay isn’t enabled for this location’s payment account.” | Your location’s Adyen account doesn’t have Tap to Pay turned on yet. Contact GoTab Support. |
| ”…requires iOS…” | Update the iPhone in Settings › General › Software Update, then try again. |
| ”Tap to Pay is still setting up on this iPhone.” | Wait a few seconds and try again. Setup runs in the background after you enable Tap to Pay. |
| ”Setup didn’t finish” | Tap to Pay keeps retrying in the background. You can also restart it from More › Tap to Pay on iPhone. |
| ”Payment failed. Transaction was cancelled.” | The tap timed out or was cancelled. Tap Dismiss and run the payment again. |
| ”Tap to Pay on iPhone is not available while using iPhone Mirroring.” | Stop mirroring the iPhone to a Mac. Tap to Pay works only on the iPhone itself. |
| The iPhone can’t print | In the iPhone’s Settings › Privacy & Security › Local Network, turn GoTab on. |