
Membership/Loyalty: Member info and checking in on the POS/CFD
Customers can view their membership information and staff can check in members from the POS or customer-facing display.
Member info
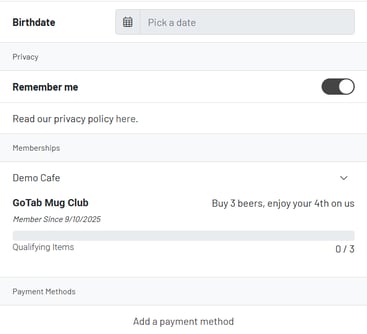
Section titled “Member info”Customers can view their membership information from their GoTab Account.
First, they’ll need to click on the user icon in the top right  , then navigate to Account > Settings, where they can see all of their account details. From here, they’ll just need to scroll down to see any available Coupons and Membership information.
Checking in an existing member from the POS
Section titled “Checking in an existing member from the POS”-
Ring in the customer’s order. Add the items the guest wishes to purchase to their tab as normal.
-
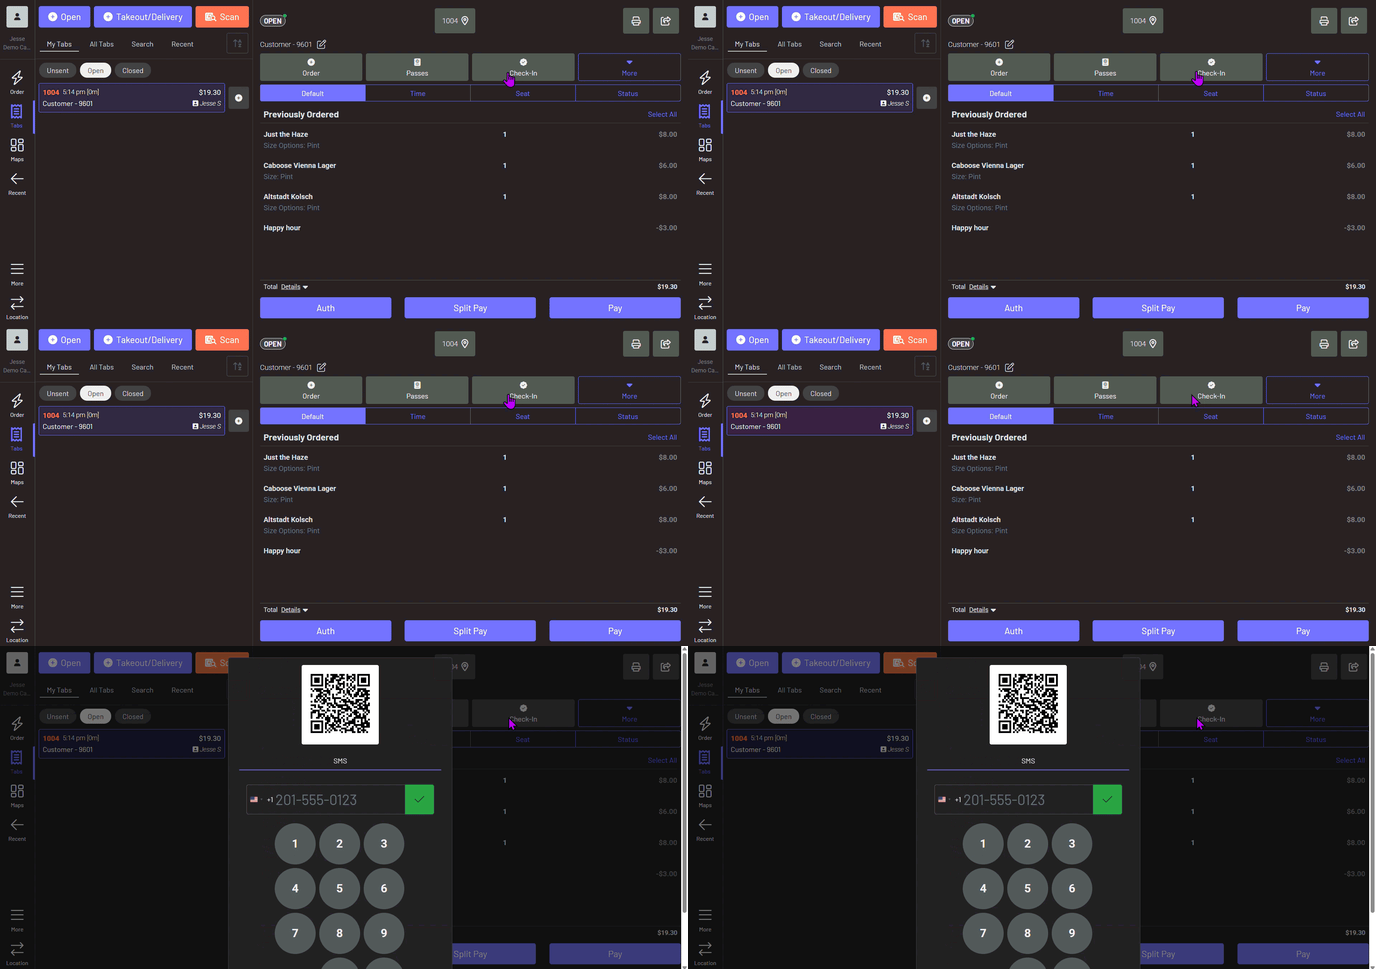
Initiate rewards check-in and enter a phone number.
- Without a CFD, the server clicks Rewards Check-in at the top of the tab and enters the customer’s phone number.
- With a CFD, the customer clicks the Rewards Check-in button and enters their phone number.
See What the customer sees on the CFD for screenshots of each CFD layout.
-
Check in. This happens in one of two ways, depending on your location’s settings:
- The customer receives a text with a link they click to complete the check-in process.
- With Quick Check-In enabled, the system checks the customer in automatically and shows a notification on the customer-facing display. The guest doesn’t need to use their phone or follow a link.
-
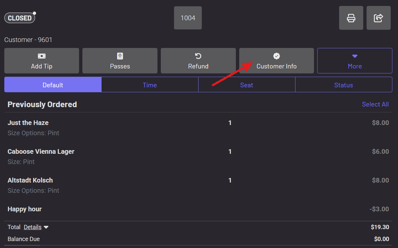
Verify check-in status. On the POS, once the information is sent, you’ll see Customer Info in place of Check-In, which means the customer has been checked in.
-
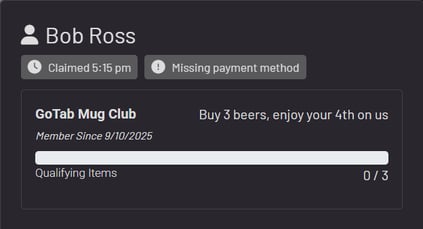
View reward status. Click Customer Info to see the customer’s name and the status of their rewards.
What the customer sees on the CFD
Section titled “What the customer sees on the CFD”The check-in screens look different depending on the size of your customer-facing display.
The check-in methods the customer can choose from depend on the customer identifiers your location uses. The screenshots below are from a location that offers Phone Number, QR, and RFID. Your location may offer only one of these, or other identifiers.
Portrait CFD (S1F2 or phone-sized)
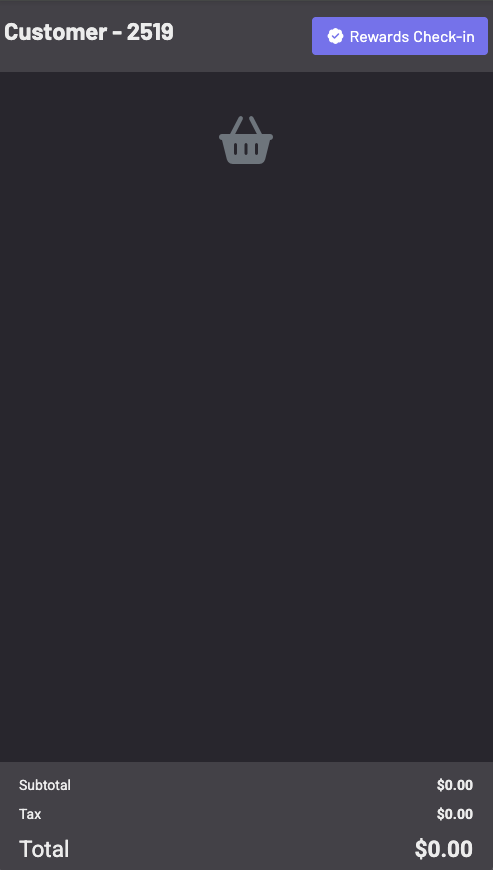
Section titled “Portrait CFD (S1F2 or phone-sized)”The customer taps Rewards Check-in at the top of their tab.
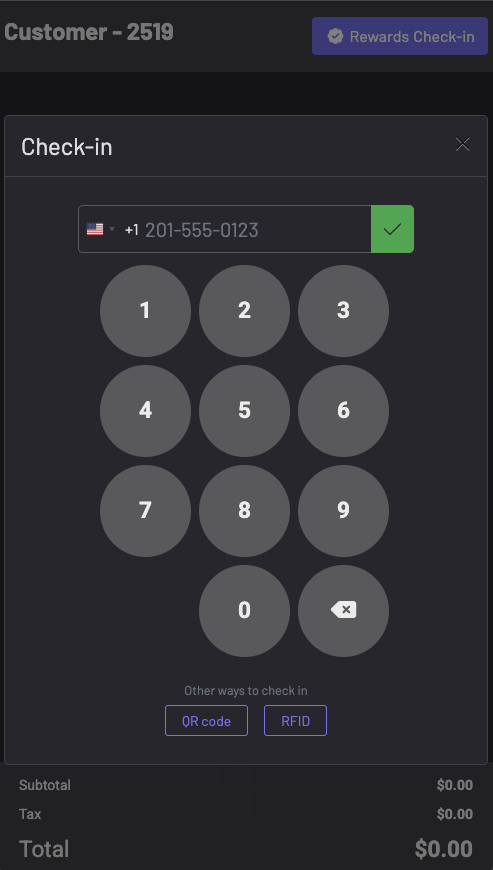
The Check-in screen opens. The customer enters their phone number on the keypad and taps the green check mark. Any other check-in methods your location uses are listed under Other ways to check in.
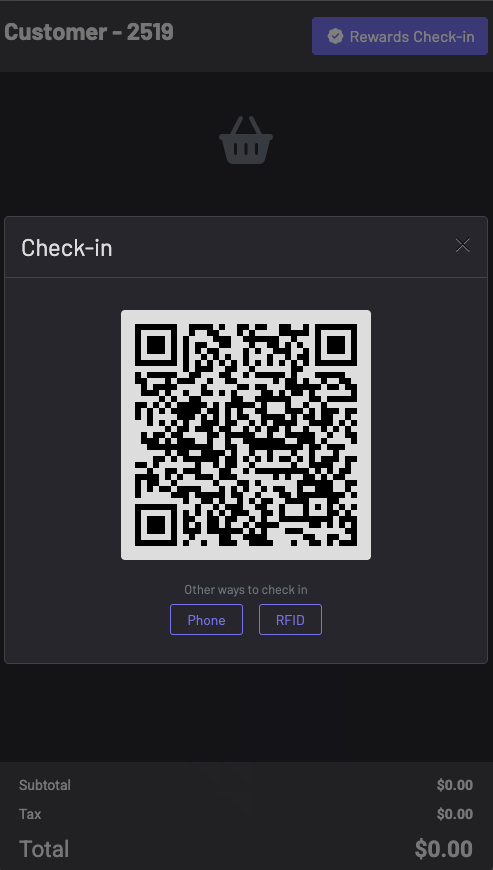
If the customer picks QR code, the screen shows a QR code they can scan with their phone. They can tap Phone to go back to the keypad.
Tablet CFD (Swan dual screen or small tablet)
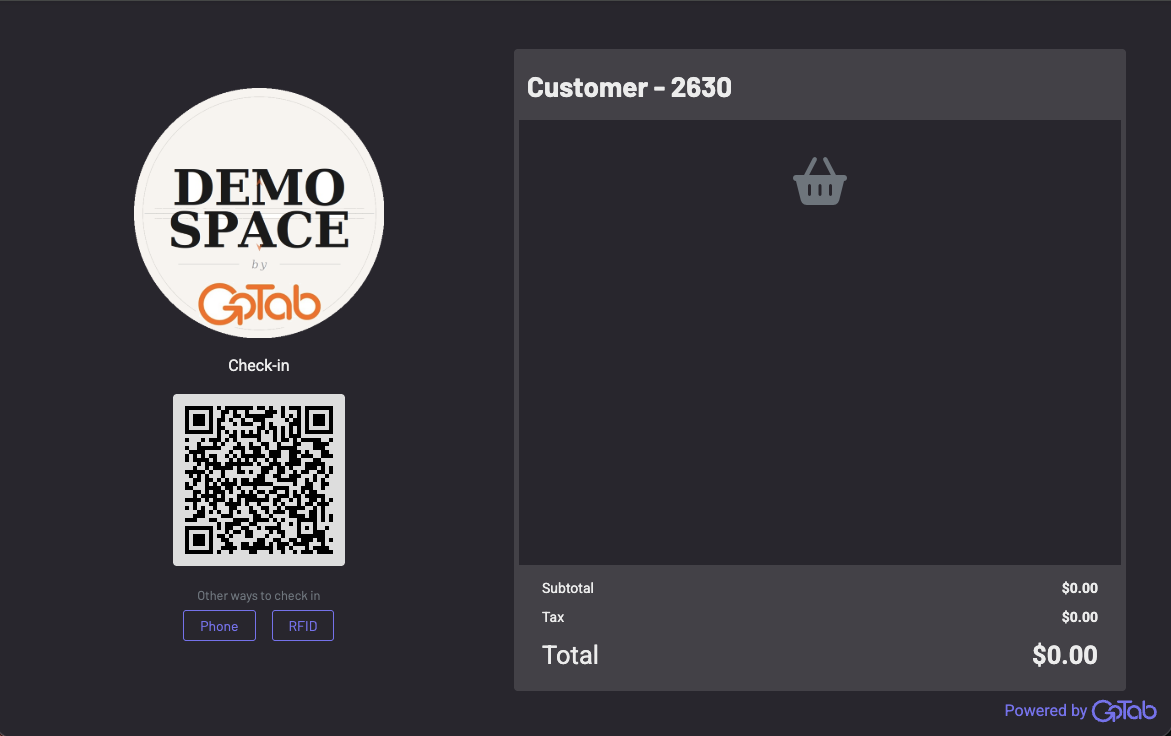
Section titled “Tablet CFD (Swan dual screen or small tablet)”On a tablet-sized CFD, the check-in screen shows next to the customer’s tab. In this example, the customer can scan the QR code with their phone, or tap Phone or RFID under Other ways to check in.
Third-party loyalty lookup
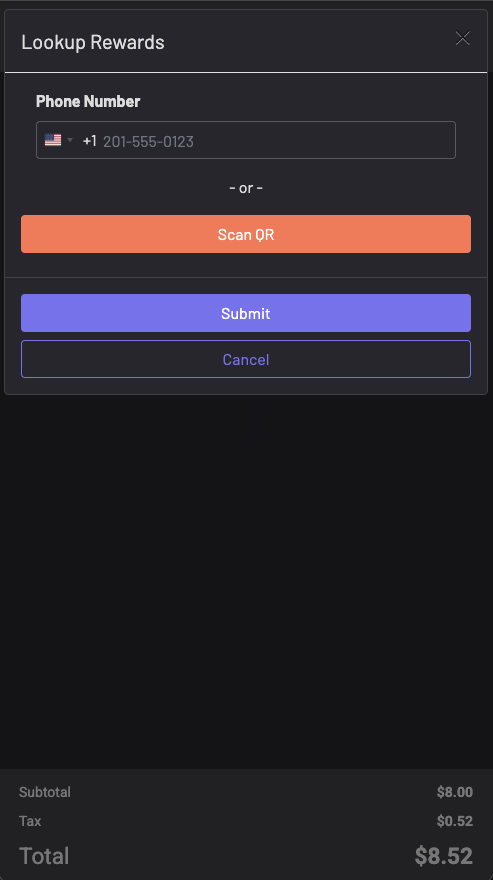
Section titled “Third-party loyalty lookup”If your location uses a third-party loyalty program, the customer sees a Lookup Rewards prompt instead of the GoTab check-in screen. They enter their phone number or tap Scan QR, then tap Submit to look up their account in the loyalty program.
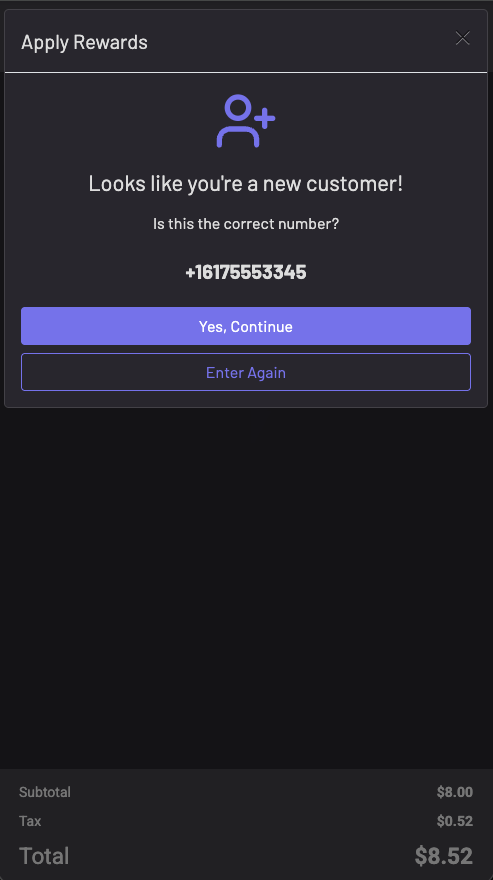
If the loyalty program doesn’t find an account for that phone number, the customer is asked to confirm the number. They tap Yes, Continue if it’s correct, or Enter Again to fix it.
Turn on Quick Check-In
Section titled “Turn on Quick Check-In”To enable Quick Check-In at your location, go to Location Settings > Edit > Display Settings in the Manager Dashboard and make sure Quick Check-In is toggled on.

With Quick Check-In on, you can also text guests a link to their tab after they check in so they can order and pay from their phone. See Quick Check-In Tab Share.